Introducing our first guest blogger -- artist Joshua Flint -- straight to you from Portland, Oregon! In images & words Josh explains the creative process behind his newest piece. We hope you enjoy!
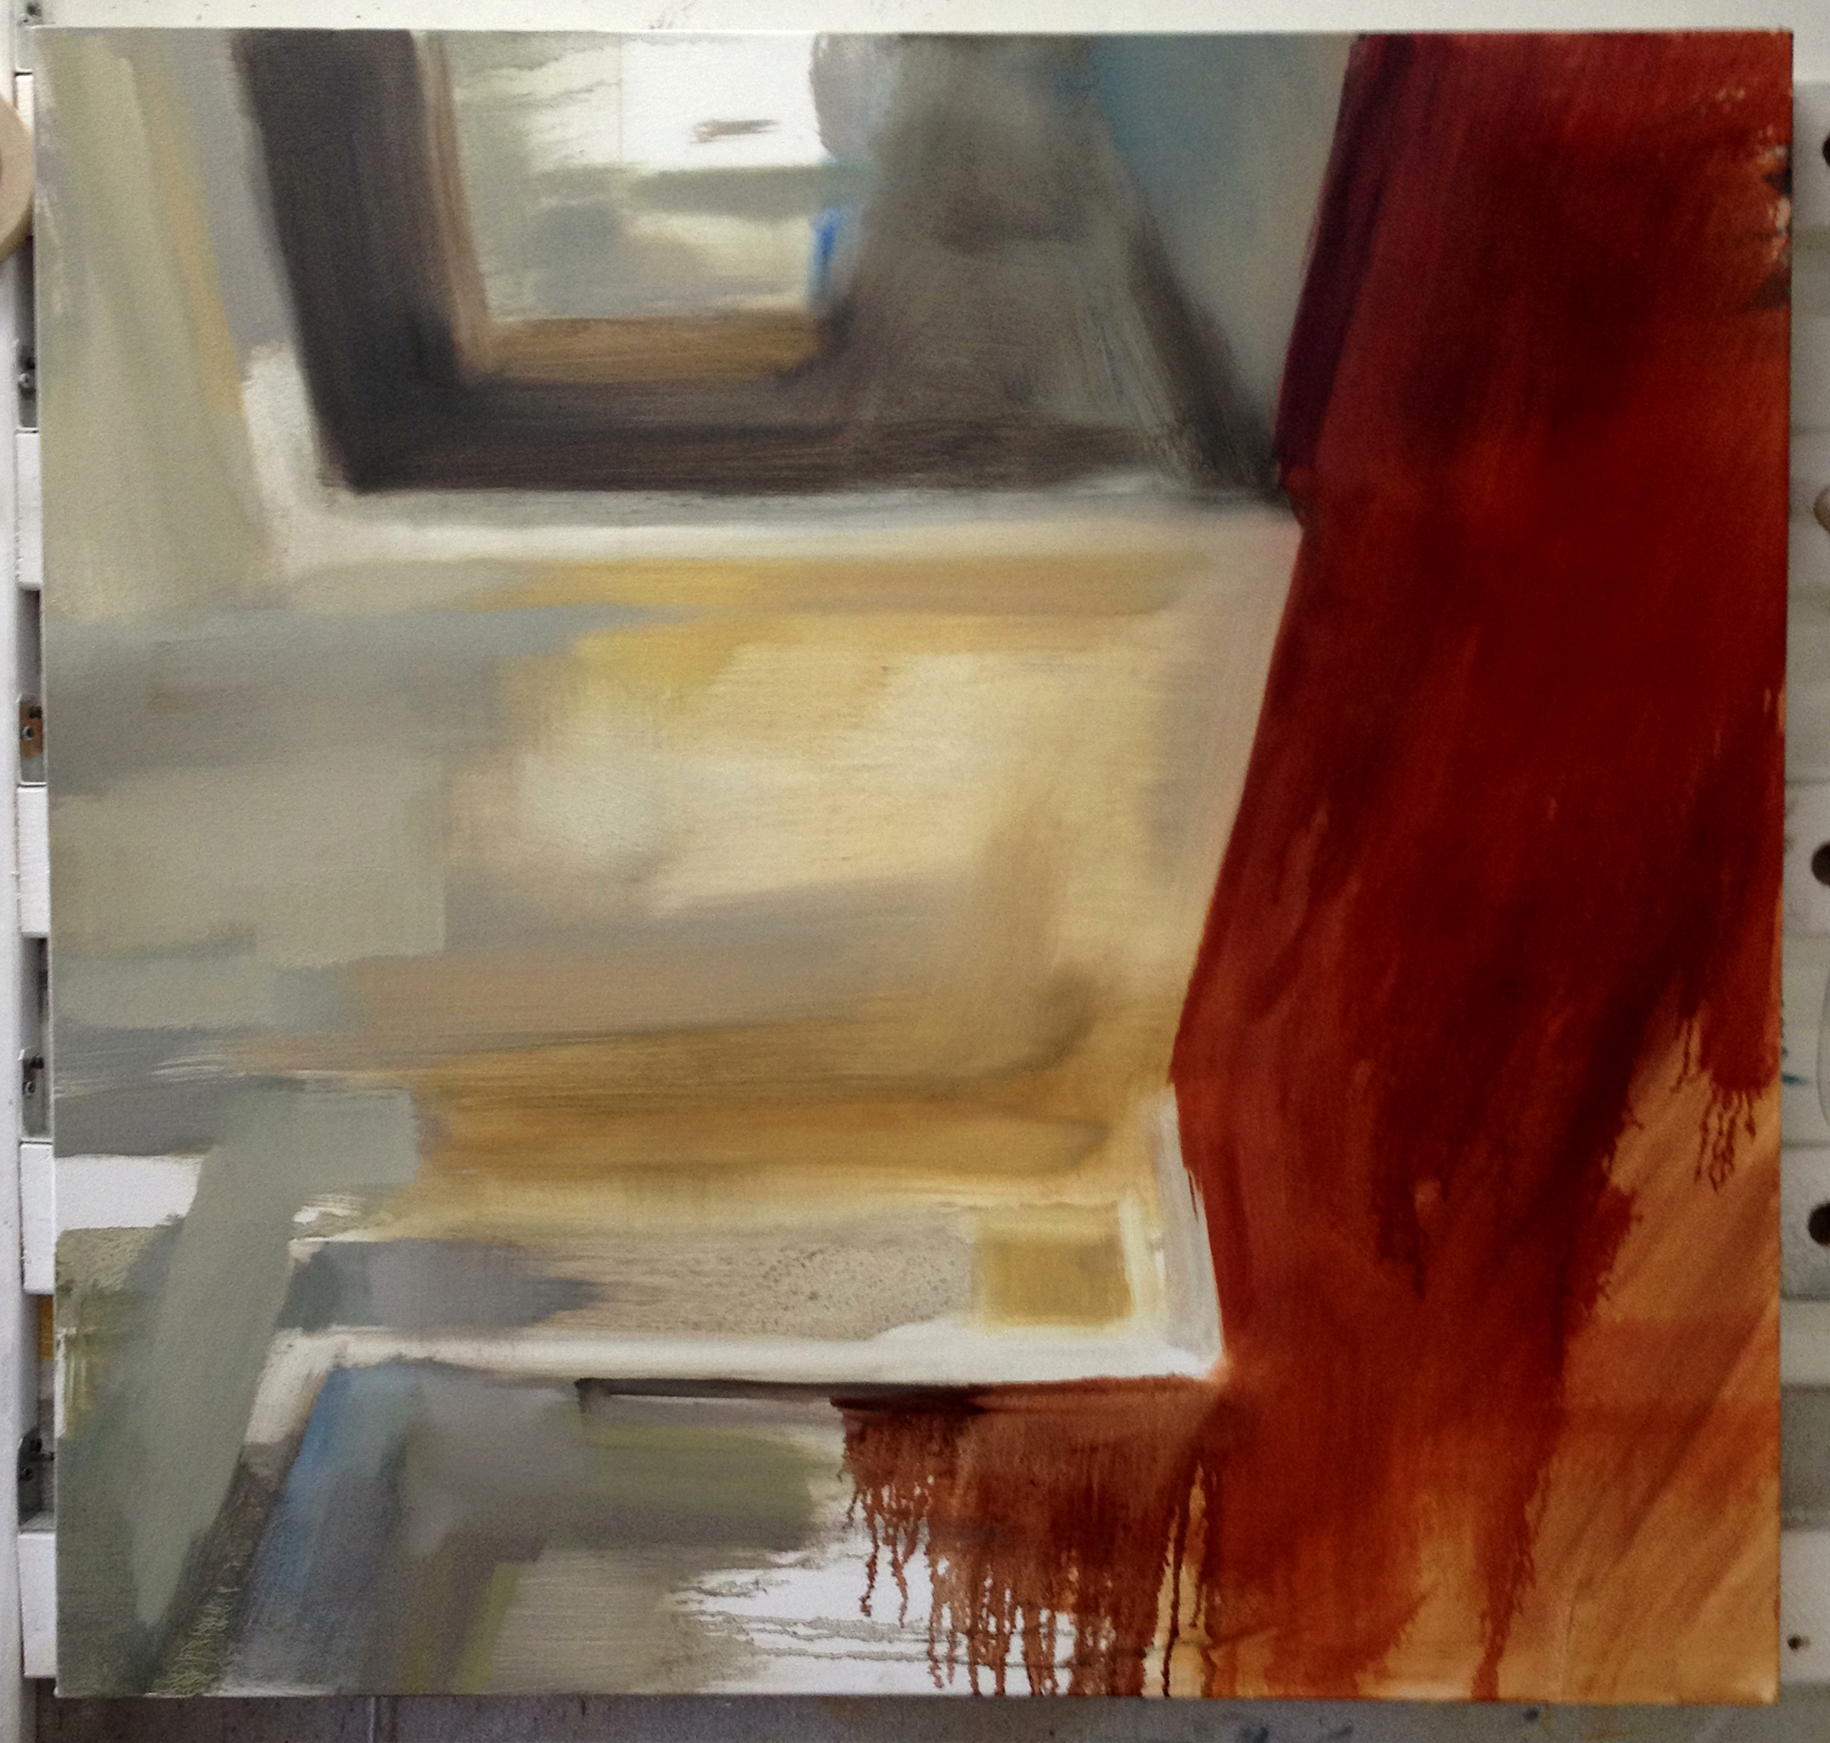
1. I am not one to start with the same approach to every painting. A painting is about an idea and the formulation of that idea. The technique needs to adjust based on what it is I’m painting and how it is best realized. This philosophy revolves around a few factors inherent to the image such as subject matter, color combination(s), or it could be a certain effect to the entire image or perhaps numerous effects in various areas of the painting. They all play their role in the formulation of the image. The other main consideration is the size of the canvas, which poses its own set of adjustments to the technical side of my creative process. With this painting, the central room serves as a fulcrum in the piece and was important to establish early on, especially the corner of the room, which is where I started.


2. I establish basic undertones with loose washes of oil paint, using a big brush and letting some spontaneity occur. I don’t want to have a painting be a cold execution -- matter of fact, I can’t or the process loses all of its power. Not knowing (exactly) how the piece will turns out is important at these early stages. I have a general game plan however I'm open to the deviations that will occur along the way. Often nice things will happen at this early stage. The subsequent layers will determine if they stay intact or need to get covered up to make the painting work in the end.
3. With more applications of these loose swathes of color the environment begins to form bringing more structure to the overall idea. I first went in with mid tone washes and have now laid in a few darks. At this point there are effects that interest me. I’ll maintain some of these passages throughout the rest of the painting. The area on the right hand side about 2/3rds up near the figure in the back room is an example of where I maintain an early statement of color that can be seen in the final version.

4. A painting is very much a construction, not only in using a wide variety of tools to generate the piece but the chemical properties of the oil paint itself impose this methodology of working in stages. (Traditional oil painting technique teaches that thick layers of paint are placed on top of thinner ones with the darker colors laid down first and the lighter ones toward the end. If we could get very close to the surface of the painting we would see a rise and fall in the paint akin to little peaks and valleys. This modulation on the surface of the canvas is similar to relief in sculpture, albeit at a much smaller scale. Oil painting is an illusion of the images, created by the artist, coupled with this sculpted surface, which is dictated by the mineral compositions of the oil paint, combining to fool the eye.) Now I'm starting to bring solidity to this imaginary space through thicker applications and here I have turned the canvas upside down or on its side to create interesting effect on the left of the canvas. Turning the canvas upside down or on its side is a good way to see what is happening from a new angle. I also incorporate the use of a mirror for the same reason.
5. With more of the floor and rooms completed I now need an anchor in the painting, so I look to establish an area of more detail. That begins with the figure in the back room on the far right. I also start to sketch in the central figure thinking about large geometric shapes relating to the human form. I'm not looking at the specifics of this individual or any detail yet. Thinking in angles builds structure to the form, which in turn provides a three dimensional believability to a two dimensional object. Certain elements are starting to provide a real feeling of this place, like the garment on the clothes rack and its shadow on the wall. An area such as this will hook me into the painting and I start to "live" in that space more and more. That one area will now allow me to develop many of the adjacent areas.
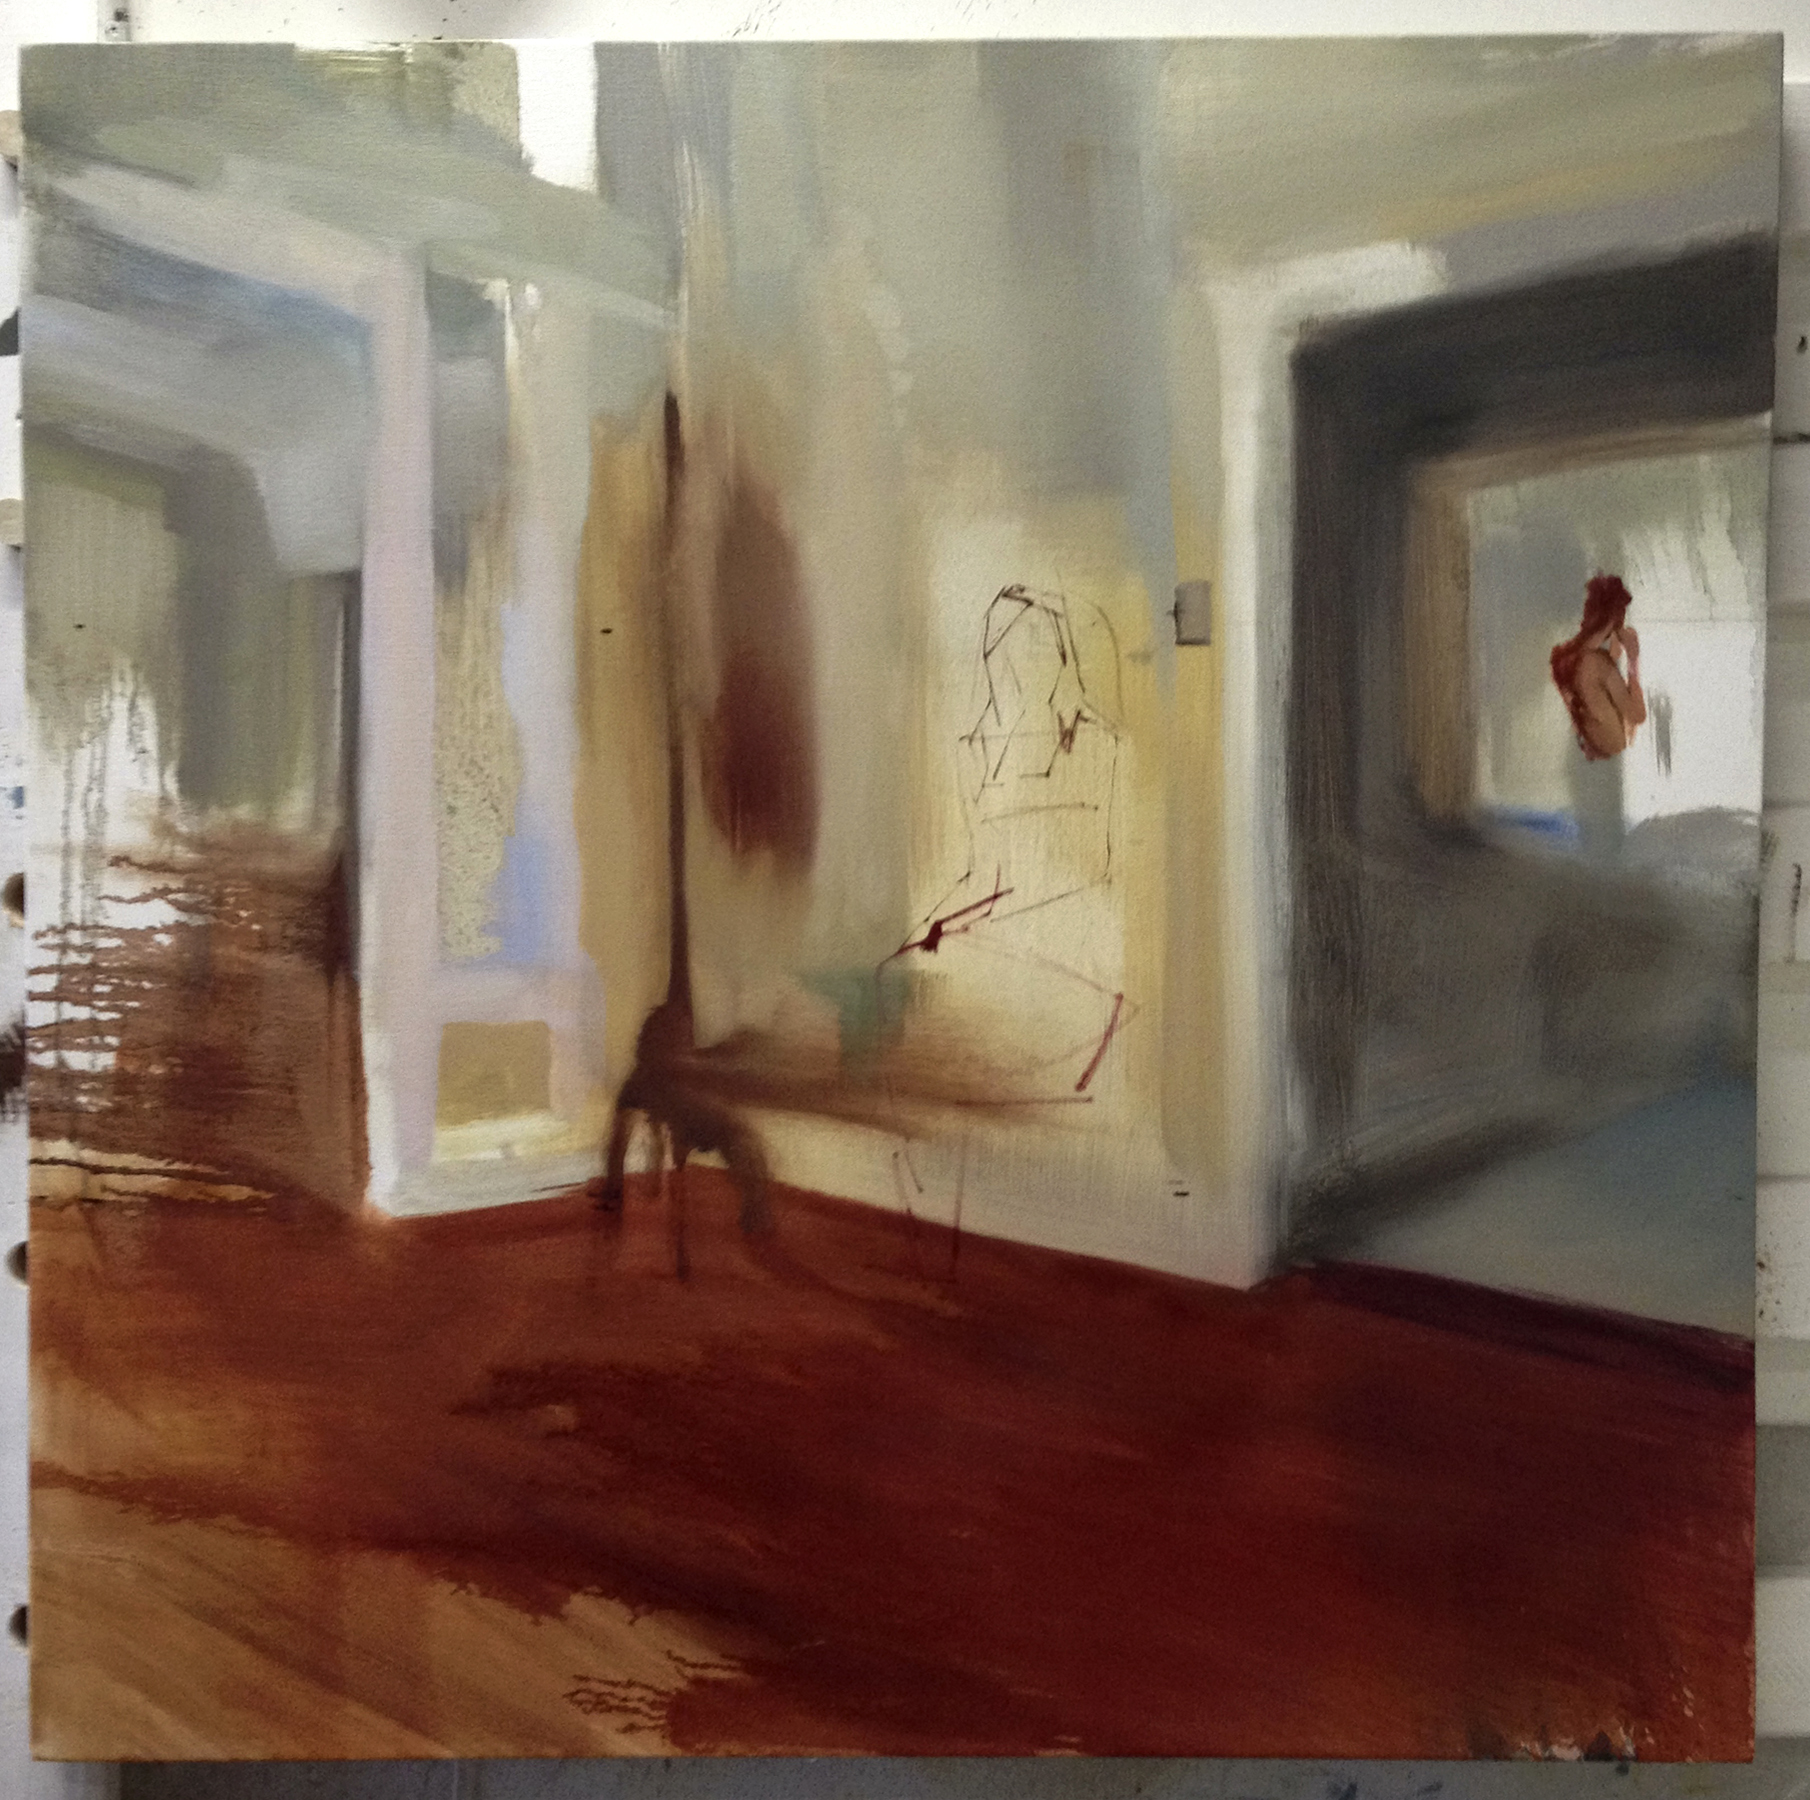

6. With the addition of the figures the room is starting to come together. I have a better understanding of how I want to treat the paint as I move forward. Even at this stage I am still thinking about larger areas of color and I’m not looking for any finishing touches.
7. The central figure is more developed, I’ve built up more layers on the wall, and the floor has more detail. With many of these passages I’ve allowed the layers to dry and I’ve worked over to bring further depth and subtle modulations in the color. Another note about my process is paint application. I’m not one to use only brushes because it is about just that: paint application not just brushwork. Incorporated into my repertoire are many things: fingers, paper towels, rags, palette knives, q-tips, cardboard, along with a variety of brushes including bristle, synthetic, sable, cheap house varieties, and whatever else I feel will create a desired effect. In this case I have put up some masking tape on the dried canvas to create different edges, from crisp to soft to lost.


8. You’ll notice I’ve placed a figure moving through the doorway on the left hand side. I felt it would expand the narrative. In addition, I’ve laid down more tape on the adjoining room and on the floor. Again, the tape gave me a clear shape and edge of color which I could modify after I peeled it off. Painting is about shapes of color and identifying the shape of the mark you want to place down. The tape has become another tool and is an extension of this thought. With it I am establishing bigger shapes that will then be modified. At this point, every element is well established, however, I'll continue to define details, apply subtle color transitions, refine angles, and assess edges till I think it is complete.
9. The painting is nearly there. All areas of importance will continue to get further refinement. Lastly, I am resolving the area on the left hand side so it 'Sits in' and joins the main room a little better.


10. All done! The title of the piece is 'Planetary System'.
Thank you for stopping in and reading about my creative process. I'll leave you with a list of colors I currently have on my palette:
Titanium White (Alkyd)
Ivory Black
Hansa Yellow
Yellow Lake
Cadmium Red
Alizarin Crimson
Ultramarine Blue
Cobalt Blue
Yellow Ochre
Burnt Sienna
Transparent Oxide Red
Raw Sienna
Permanent Violet Medium
Olive Green
*The caveat -- my palette is an ever-changing arrangement of color. It is not a fixed system. There are always a few other tubes I incorporate to the list above. That being said, I always want a warm and cool option for yellow, red, & blue, which I have.
We're excited for the piece to arrive in the gallery -- look out for its arrival this coming week! And thanks to Josh for such a phenomenal peek at his creative process! Be sure to check out Josh's fantastic tumblr: http://joshuaflint.tumblr.com.